Table of Content
You can use this as a finder scope on a bigger telescope too . Wrap one edge of the cut side slightly over the other edge and hold it in place with one hand. Get crafty and build your own telescope to look for birds, treetops, and even stars in the night sky. Connect everything that needs to be connected and have your radio telescope set up today! This post has outlined all the items that are required to make a DIY radio telescope. The steps you should follow have been equally explained.

These will be your spacers and they should be about 1 to 1.5 inches in diameter. Make sure you cut clean and straight with the coping saw . Glue first length of paper around one of the magnifying glasses. You'll need to glue the edges of the paper together as well, since you've left about 1 1/2 inches of paper.
NASA - National Aeronautics and Space Administration
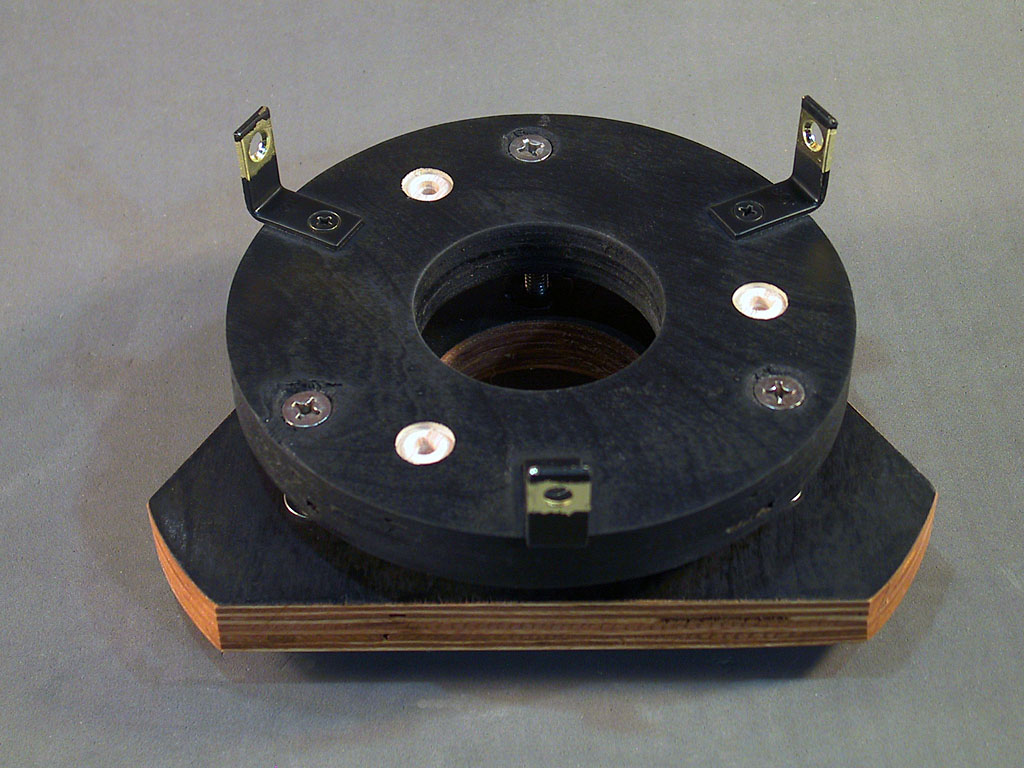
A radio telescope sweeps over an object, picking up radio waves from each and every tiny place in space around that item as it moves across it. The radio waves emitted by some locations may be stronger than those emitted by others. Finally, an image of the radio source is created when the computer replaces the numbers with colors. This is an important step because the placement of the mirrors should be corrected and must be equal.

This is where the second magnifying glass will go. You should now have two lengths of corrugated paper. One piece should be slightly larger than the other. Great project for the family and will provide inspiration and information for all ages. These free plans will show you how to transform a cardboard tube into a functional Dobsonian style telescope that will provide a clear image of the solar system. The total build cost will be under $25, even less if you have some of the materials on hand.
Steps
If there are photons which have shorter wavelengths and have a higher frequency, they glancing incident optics, rather than fully reflecting optics. There are telescopes like TRSCE and SOHO, they use different and special mirrors to reflect the extreme ultraviolet and high-resolution power production. The diameter of the telescope’s main object is known as its aperture.
The cost really depends on the design and materials you use. However, typical materials such as mirrors, eyepieces and a finder have a minimum cost of $300 USD. It can cost less if you can find and purchase second-hand materials. You have just built a simple refracting telescope! With your telescope, you should be able to see the moon and some star clusters as well as terrestrial objects (i.e. birds).
Homemade Telescope
This thing can collect light from faint stars too . Andromeda can be seen as a faint smudge through this. My scope has a good field of view and enough magnification to call it a spy glass . Once you've finished the last piece just slide it from behind the telescope all the way up to the front it must be tight and must not come off the front end of the telescope. The lens is secured from the other end of the neck and not the mouth of the bottle the threaded mouth of the bottle must remain outwards and the neck must hold the lens. Now keep the lens at the end of the sheet and roll it along the circumference of the lens.
On the open end on the second tube, I used hot glue to make a square shape about the width of the C's open bit on the big tube. I didn't use glitter glue on the second tube because I thought the glitter might rub off anyway whenever I slid the tube out or in after the glue dries. Instead, I traced out the lines and added some sparkle to the stars with some red, orange, and green color pencils. You can try whatever you want though- creativity has no limit.
The word telescope now refers to a wide range of instruments capable of detecting different regions of the electromagnetic spectrum and in some cases other types of detectors. The lens is about 2.5 cm in diameter the same as the neck of the bottle. Once you've done that secure the roll on the end of the tube. Go ahead and close all the edges of the tube as shown in the image. This is to reduce the diameter of the tube from 50mm to 40 mm gradually.
You can see, if the wavelength increases and become longer, it is easier to use antenna technology to interact with electromagnetic radiations. It can be possible if you want to make a tiny antenna. There are two main functions that a telescope can perform.
Because radio waves have a large wavelength, they have weak resolving power when used in radio telescope. The wavelength of radio waves is sometimes thousands of times longer than the wavelength of light. The light-gathering power of the telescope depends on its aperture.

"I am making read this article, telescope so fun, lot of time, thanks." Be careful not to drop the magnifying glass, it breaks easily. Do Not Look Directly at the Sun or any other Bright objects using telescope, it may DAMAGE your eyes. You can increase the magnification power of the lenses, and also add a third or fourth lens.
Get the two magnifying glasses and a sheet of printed paper. A radio-reflecting telescope is made up of a concave metal reflector , which is similar to a telescope mirror in design. The radio waves gathered by the dish are reflected to a focus, from whence they may be directed to a receiver and examined.

This is used to see the distant objects by their absorption, emission, reflection, and the other rays which use electromagnetic radiations to see the objects. You'll need to make the holes where the lens is going to be placed in the outer tube, because the holes allow you to put glue into the inner part of the tube. Near the end of the inner tube is the best place, about an inch in. You'll also need to the make holes at the end of the outer tube for the eyepiece and the cap.
I always love to write about gardening, sustainable life, off grid living and homestead farming. To buy a telescope like the one used by Galileo could cost a small fortune. A few pieces of PVC pipe will be the biggest expense for this DIY project. This beginners telescope can be built for under $20 and provide hours of viewing pleasure. Great for the want-to-be astronomer, this design is powerful enough to provide a sharp, clear view of Jupiter, Saturn and Venus.

Bring the bigger glass closer and farther until whatever's in front of you becomes the clearest it can be. Another long cardboard tube- but this one a teeny bit smaller in width so it can slide in and out of the tube from earlier. The student will construct a simple refracting telescope and calculate the magnification. Even inexperienced amateurs may construct good, sturdy, and useful telescopes. A 6″ or 8″ mirror should take between 40 and 80 hours of work to complete. In order to mould it into a convex shape, the lap must first solidify before being sculpted.


No comments:
Post a Comment